
Monday, March 21, 2016
Mentoring at church

Friday, February 5, 2016
Bed stand plans
 Here are the plans for the bed stand. It was a revised plan from a woodworking magazine. It will be a Greene and Greene inspired piece.
Bed Tables

 I am building bed stands for a friend of mine. I am just starting and have roughed out the 1 - 1 3/8 inch pieces on my table saw. I just started today. I built the jigs for the legs and rails earlier in the week.
 Wednesday, November 18, 2015
For my Granddaughter

 I made a unit for my Granddaughter. It is cherry, The middle section can be pulled out to get into the closet behind the unit. My son's house in a cape code, so the rooms have an angled ceiling. The bottom of the unit is about 26 inches deep, so there are turntables to get the back. The other side has a desk unit, that changes in height, along with bungee cords to put her stuffed animals and such... so they do not fall our. The drawers in the middle unit are plywood, dovetails. All experts tell you that you cannot dovetail plywood... but i wanted to prove them wrong... and you can with enough backer boards to eliminate chips... not for the beginner woodworker. LED lights are recessed into the shelves and the bottom units. You can see the rafters in the top shelf. Also I turned cherry spindles and put a railing across the top. There are sliding doors on the right side of the unit.
 |
| Owl knobs |
 |
| Spindle rail |
 |
| Control panel for lights |
 |
| Lighted unit |
 |
| Sliding Doors |
 |
| Turntables |

 |
| Top Shelf with rafters, close fit! |
Tuesday, April 14, 2015
Recycle Containers

 I built my son a recycle container. There house is small, so to make the most of every room items need to be fitted into spaces. I made this two container recycle center to meet that need. It fit, not as well as I would like, but it is usable. We will see if he uses it. It is maple, painted. The panels are also ambrosia maple.
Turning Bowls
 I was taught how to turn a bowl. The wood was green. I wanted to know if I enjoyed doing it, so I went to a two day class. I did manage to turn two bowls, one is cracked around the edges, due to the wood drying faster than I could turn the wood. We will see if turn another bowl, I may. To get the equipment and tools I need to spend another $300, and am not sure I will turn enough to warrant that money. I do have a lathe and did clean up these bowls on that lathe. I had trouble in the class because the distance of the tools on the bowl did not match my focal length. The teacher at one point, when I asked him again to get my tools started at the right angle, asked if I needed a time out... I told him no, I just need to get started with the tool and then I can feel my way through the rest... he took the time out and left the room. The other student came over and we got the tool at the right angle and all went well! Oh well, I have never been a good student.
Wednesday, January 28, 2015
Wacky Door Collection
  |
| Maple panels -- worm holes or ambrosia |

 |
| Walnut Burl |
Thursday, December 4, 2014
Bedside Table

 Here is a bedside table I just finished building. It is made of cherry. The finish is a brown dye, covered by de-waxed shellac and then I wiped a polyurethane finish over the shellac. The owner wanted it dark. The drawers are through dovetails and the legs are tapered. The sides are bookend matched.

Saturday, September 27, 2014
Cedar Chest Top

Saturday, September 20, 2014
These Pesky Rabbits
I finally broke down and built a rabbit fence. I have been fighting rabbits for years. They eat flowers and the garden, I hope to at least keep them out of the garden. I have used human hair, stinky potions; home-made and purchased, plastic fence, and an electric fence. All may work for a week or two, then these rabbits find a way to eat the garden. They love green beans, eat them all the way through harvest... we got little harvest this year. Any plant that is just coming out of the ground, rabbit will eat. They do like tomatoes... other than tomatoes, they will eat any vegetable I have grown. So here is my ultimate rabbit fence.


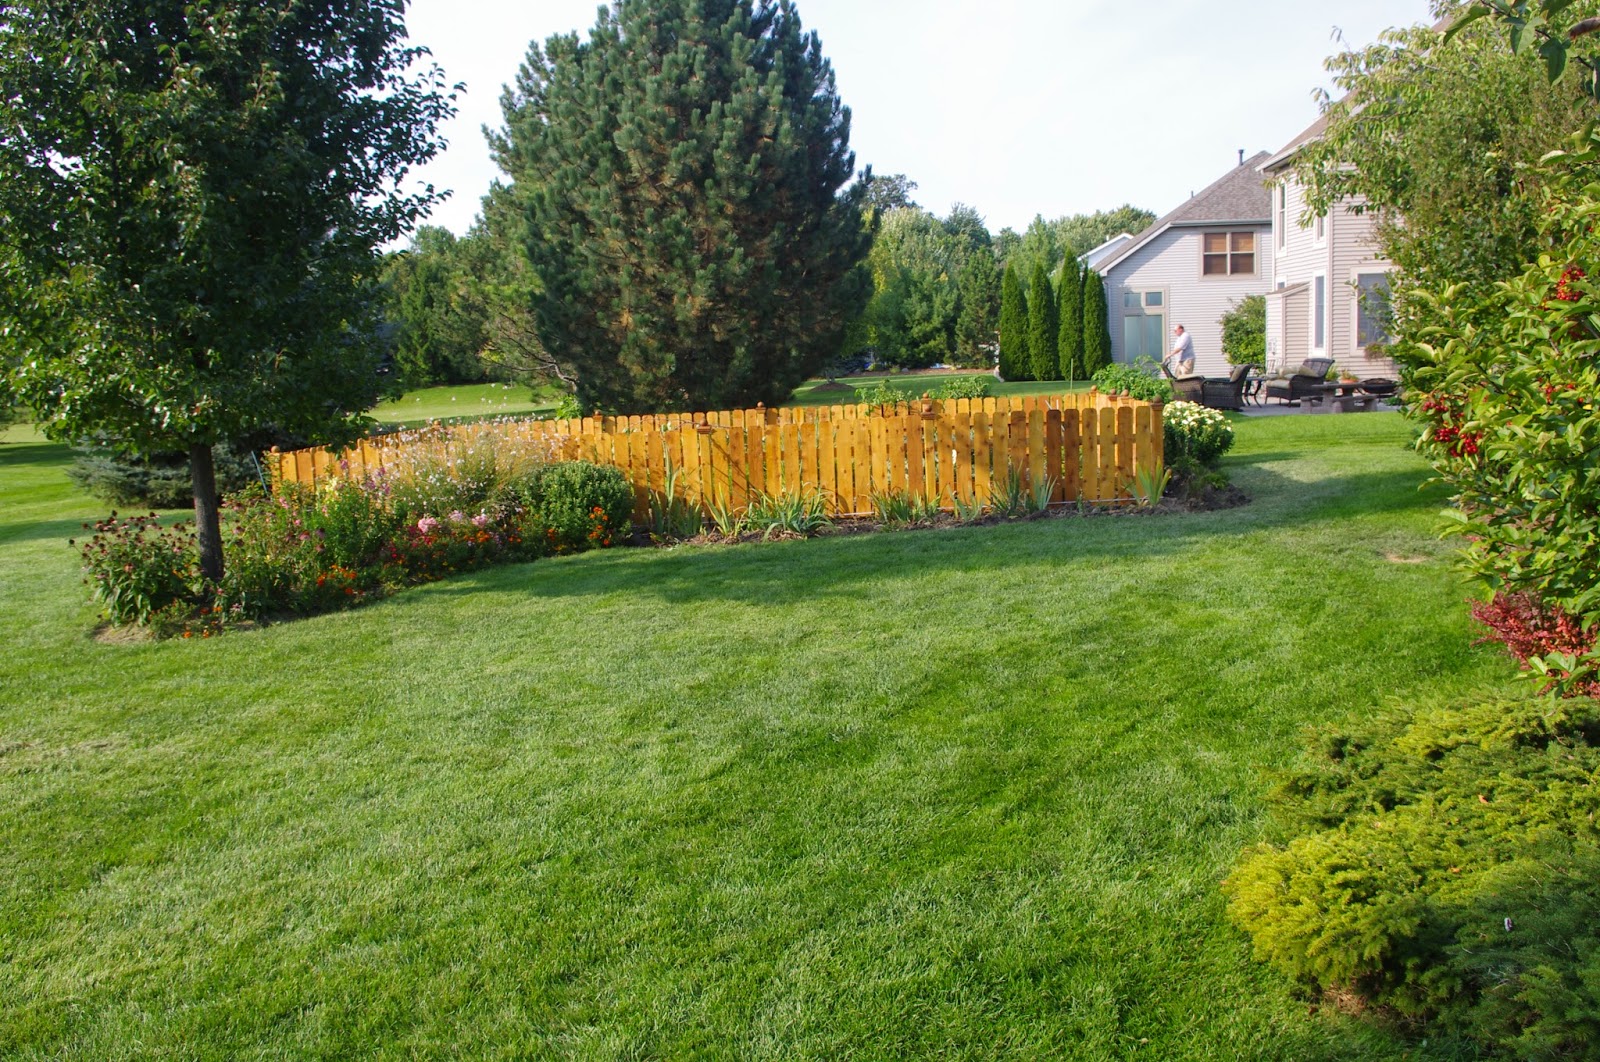 |
| Look at the fence |
 |
| Closer look at the fence |
 |
| Post Caps |
 |
| Electric Polytape at the base for the diggers |
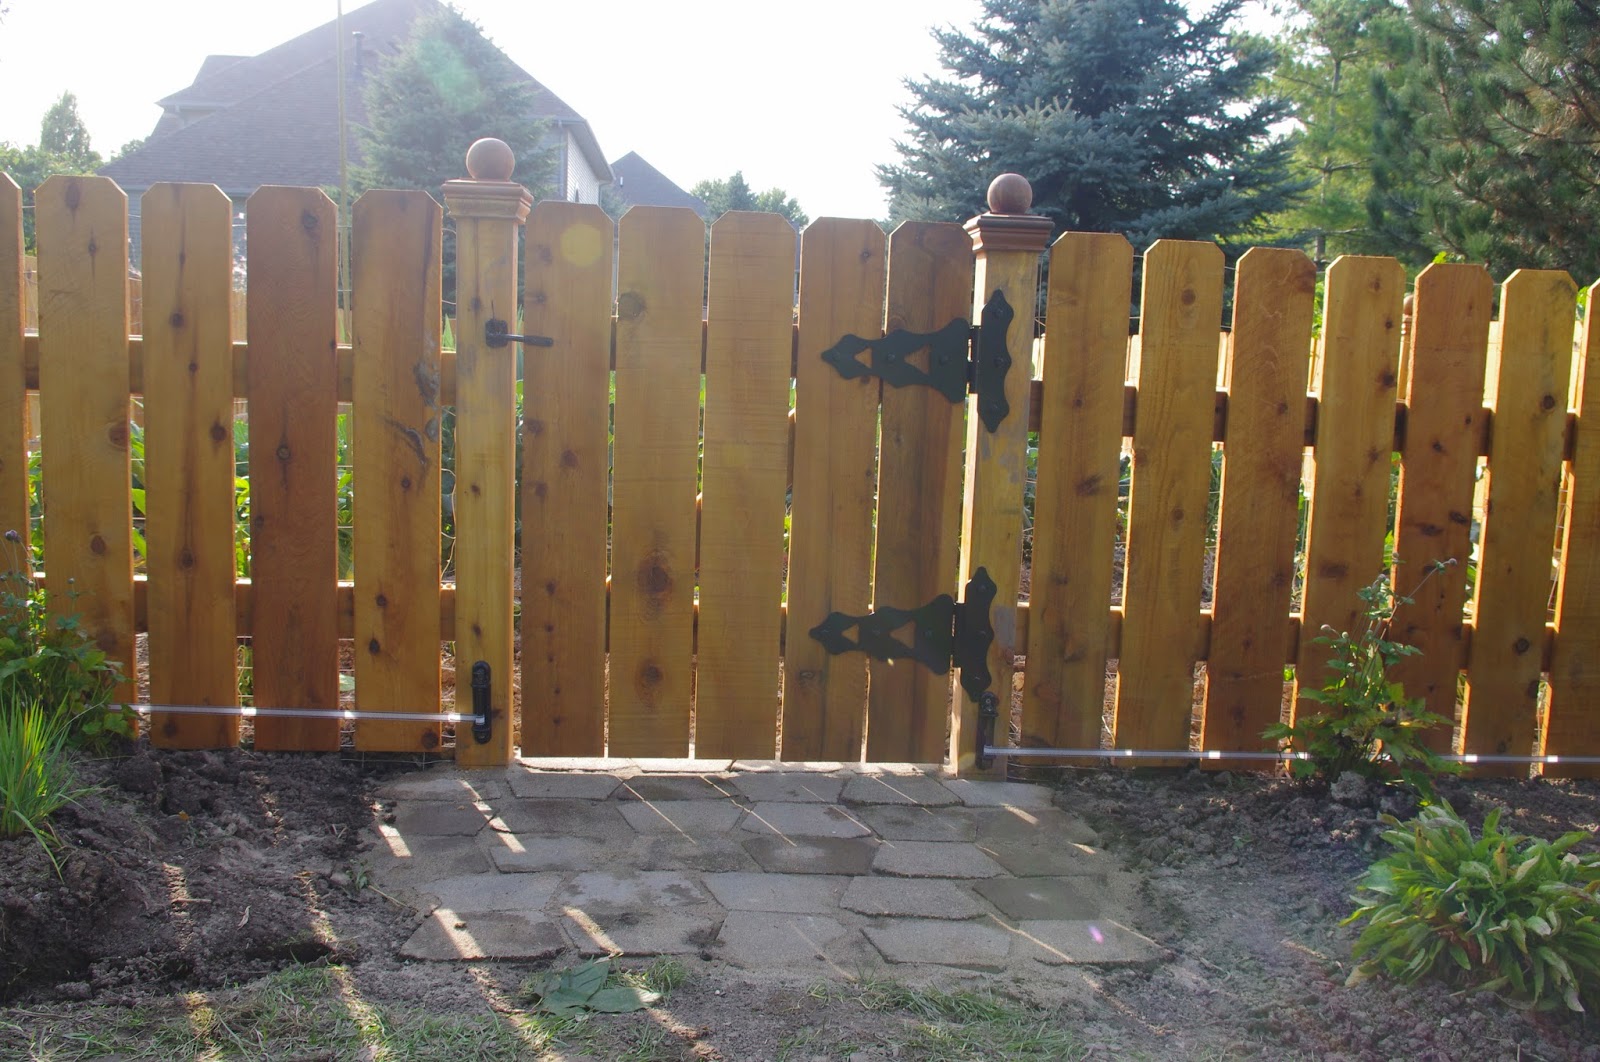 |
| Gate with a rabbit patio for the rabbits cook out with their roasted vegatables |
 |
| Wire reinforcement buried in the ground |
Friday, September 19, 2014
Picture frames

 I have left over wood from every project that stacks up in the workshop. I give much of it away for people to burn as kindling and have made toys from the wood. So I thought I would try to design and make some unique picture frames. It turned out to be a bigger project than I originally thought and thank goodness for Sketchup, because I could have not done these frames without it.
Thursday, September 4, 2014
Finished Wardrobe


Subscribe to:
Posts (Atom)