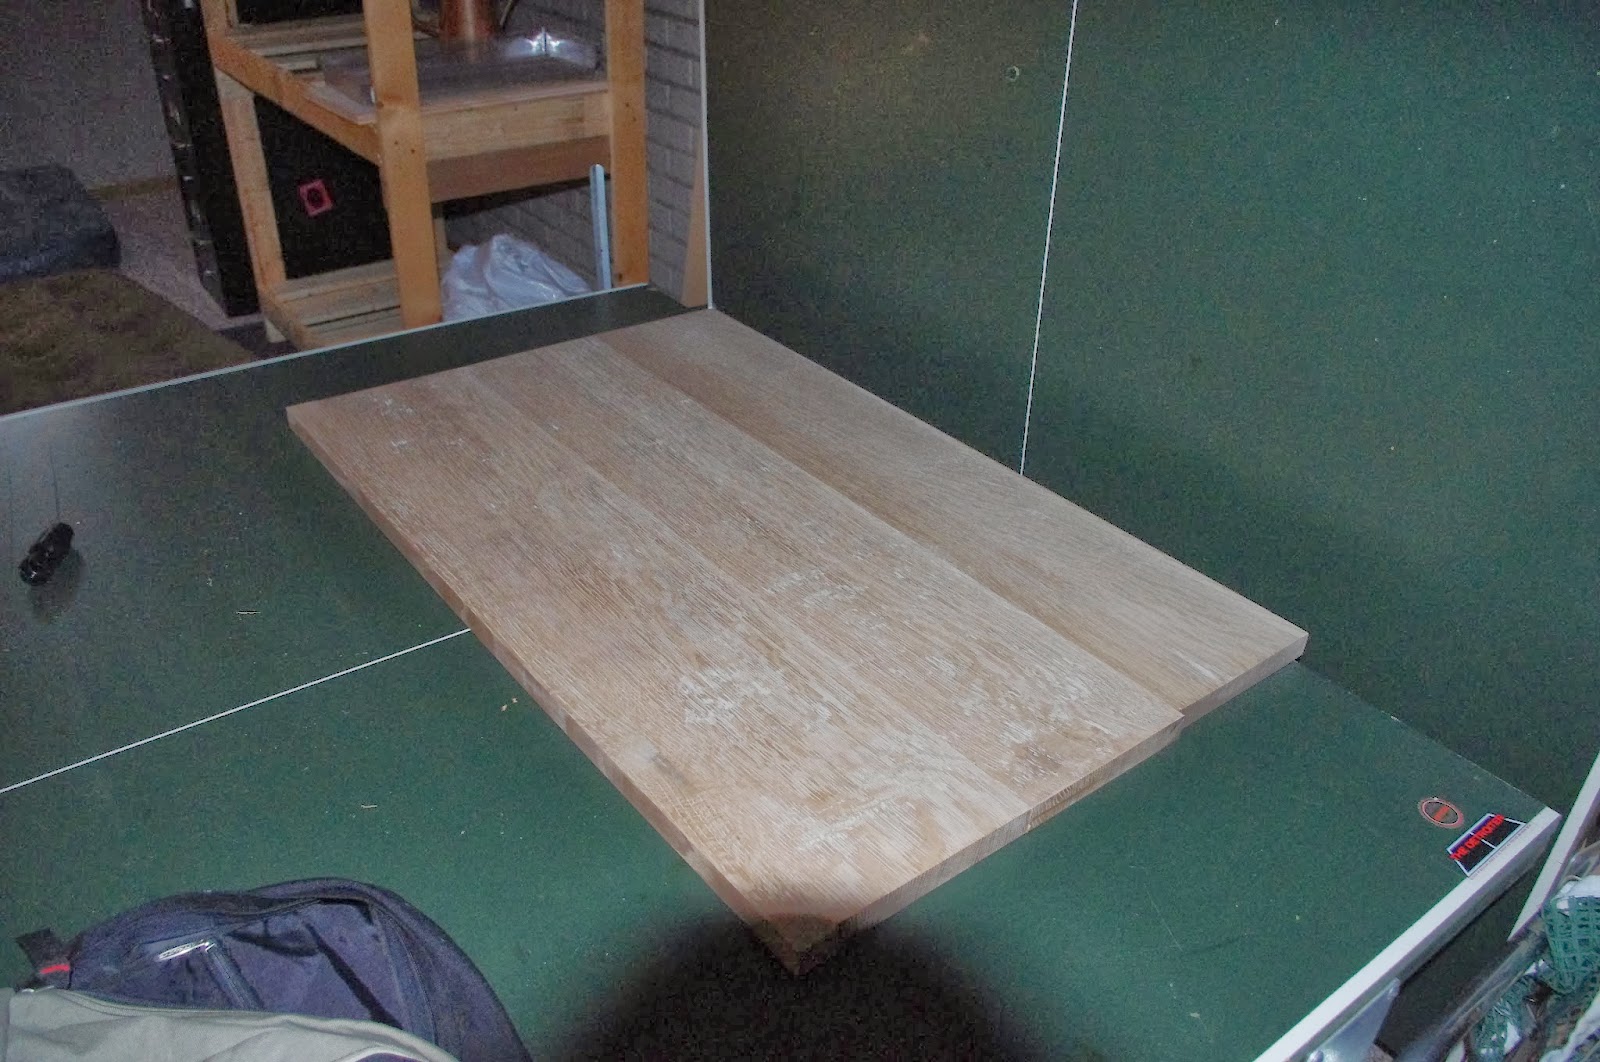
Monday, March 17, 2014


Left Door

Right Door
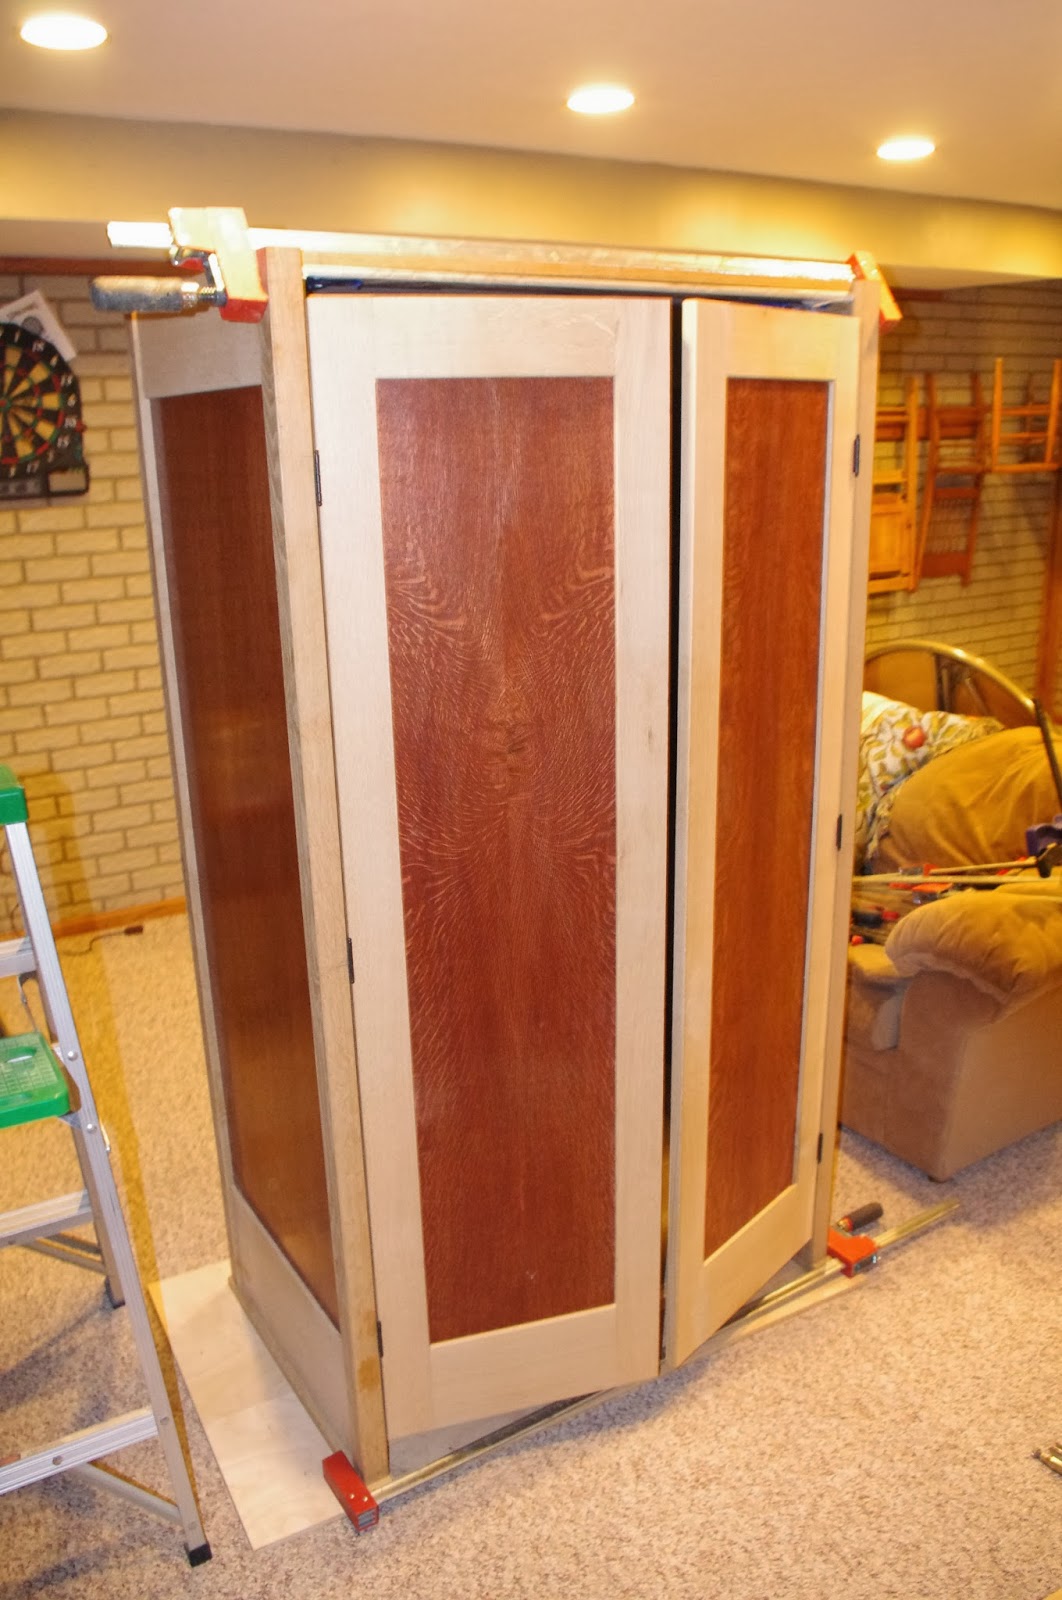
I have about 2 full days of fitting left to do, yet this cabinet is about done.  Here is a view of the entire cabinet and the doors.

Sunday, March 9, 2014

The pieces

This piece is going to be assembled on site, so the pieces will all need to go together.  Here are the pieces and I am missing one piece.  I have to make another piece to have a latch for the door, since I am just using regular hinges... so that is yet to be made.


Saturday, March 1, 2014

The doors

 The doors are attached to the cabinet.  They are fairly even for the first try.  I want to fit the top and get the poles for the hanger attached next.  Then I will take it apart and round over the edges and give it a final sanding.  Then I will put it back together and round over some more edges.  After that, I will take it apart again and apply the finish... then reassemble to be sure all edges fit and the fit looks good.  Then I will take it apart again for delivery.  That is a lot of assembly!


Saturday, February 22, 2014

Doors

Well the doors are dry fitted.  Now I need to stain the wonderfully beautiful natural panels. I will follow the same process for the other panels I stained.  First, the oil base stain, then a varnish, then a glaze, and then two cotes of polyurethane.  That will take me about a week, each coat needs at least 24 hours to dry.  While that is being done, I will install hinges on the door stiles.

The panels in the door are matched.  The gap at the top is an optional item, to allow the clothes to air out between wearing.  I hope the owners are happy with the addition.


Friday, January 31, 2014

Starting on the doors

The wardrobe's sides, false top, false bottom and back are attached.  I am now starting on the doors.  I was going to use European hinges, but now unsure.  I do not want the screws to attach to the side panels.  I may have to use regular hinges, and if I do that will be another decision the owners will need to make.  I would recommend brass hinges.  Also a decision will need to be made about door handles.  Here are some different perspectives of the piece.  A good site to use is rockler.com.

I made a mistake on one of the sides, I made an exact copy of the side and it was to be a mirror image.  Not sure how I did that, but that set me back a couple of weeks.  Not much new wood, just rework.


Friday, January 3, 2014

The color

Raw Quartersawn White Oak, planed
Stained with Minwax Mix
Now I am applying the color to this piece.  I sanded the panels using 100 grit, 120 grit, 150 grit, 180 grit and 220 grit in sequence.  The process I am using is glazing.  The people who will own this piece wanted me to eliminate all the yellow I could from the wood, so this is the only technique I know to do that.  After sanding, I wiped on a mix of Minwax stains (three colors) to try to reduce the yellows in the brown stain.  Then I applied a 1/2# mixture of shellac with a brush.  Next, I applied a glaze over the shellac, using wiping.  After 24 hours I will apply 3 coats of polyurethane by wiping.  Between each step I will rough the wood with a 320 grit sandpaper.  After a couple of weeks I will wax the piece with a clear wax.  You can click on each picture to enlarge it.


Stained with Minwax Mixed
Shellac over Minwax Mix


Glazed


Glazed


Glazed


Glazed

Glazed

Wednesday, January 1, 2014

Deck Pieces


To entertain my very few followers here are a couple of piece I made earlier.  The wood is cypress. Cypress will turn dark if untreated.  It is like all other light woods, it turns darker with time.  Light woods turn darker and dark woods turn lighter is the old saying about woods.  That is why I am not a fan of staining wood, it will finally turn a wonderful color with all the grains shown. Both of these piece are not stained.  They are covered with a Sikken sealer, which is made in Germany.  Above the trunk is a piece I made many years ago of redwood for a planter box, again unstained.  I have not put a preservative on that redwood for about 10-12 years.  It stands up well outside.  Now, redwood is cost prohibitive to buy.

The Wardrobe

 
 I am further along and still waiting on stain color.  If the nameless owners of this piece would subscribe to my blog, it is very easy, they would see the progress that is being made.  I have clamped the sides to the back. There is also a picture of the grain of the quartersawn white oak, that may be covered by the stain color, if a dark stain is chosen.  And, the grain is so pretty.

Friday, December 27, 2013

Wardrobe


The sides
The Top
Waiting on the stain color, but still more to do.  I think I am going to move the back next.  It is a heavy piece.  While I am sure we could carry it upstairs from the workshop, I am glad we are going to pocket screw it together.  I will hide the pocket screws.  All is out of quartersawn white oak.  I am sure the people who will own this fine piece are keeping up with my blog to see the status of the work... they are not even subscribers.  Oh well, the work I do for all these people.

Monday, November 11, 2013

Wardrobe

I am building a wardrobe out of cross sawn oak.  I have cut out the legs and am gluing the top.
The legs
The plan for the finished piece

The top starting to be glued

Monday, August 5, 2013

Smores bar

Here is how the smores bar was set up at my nephew's wedding.  The establishment wanted to buy the boxes, but nobody had the authority to buy them.  I asked the person that approached me if the bill could be reduced, and they could not make that decision.  My nephew took them to his restaurants to use.  I guess if there is a sale to be made they will cost more due to shipping cost. 


Thursday, July 11, 2013

My Nephew's Boxes

My Nephew's Plans
Plans
My Nephew called me Monday and asked if I could build some boxes for his wedding.  The boxes are to be used at his wedding in August for smores.  So I asked him if he could tell me what he wanted.  He drew me a picture.  Even though he only drew one side, he wanted four, with no top... so we figured out the plan. . I gave him back some plans and this what the finished product looks like.

My Nephew's mother called and told my wife that they wanted them painted chocolate brown... so with three coats of shellac, I sprayed them with paint.  I will take a picture of them at the wedding and see how they are used.  I hope they work.
Painted boxes
The finished boxes before the paint