Wednesday, January 28, 2015

Wacky Door Collection


Maple panels -- worm holes or ambrosia
This is part of my wacky door collection, I have been wanting to do something a little more unusual, so since these are in our den, it gave me the opportunity to do that.  The main wood is walnut and the door panels are ambrosia maple, worm holed.  The doors have a 93 degree angle to make them look uneven.  The finish is just shellac and wax.  The wood is natural, which is the way I like my woods.  The wood is from Indiana, where I get most of my wood.   I started with a set of pulls on the doors that I made and went more traditional.  I angled the panels at 93 degrees also, you can see that in one panel, the other it is hard to see.  The legs have a taper and are solid walnut about  1 3/4 inch square.  All panels are matched, as you can see both with the maple and the burl walnut. 
Walnut Burl


Thursday, December 4, 2014

Bedside Table

Here is a bedside table I just finished building. It is made of cherry. The finish is a brown dye, covered by de-waxed shellac and then I wiped a polyurethane finish over the shellac. The owner wanted it dark. The drawers are through dovetails and the legs are tapered. The sides are bookend matched.


Saturday, September 27, 2014

Cedar Chest Top

My nephew broke the top of this cedar chest.  His mother blames him, but I think he is an innocence little boy.  The original design was lacking, it did not allow for wood movement that weakened the frame around the top.  I tried to compensate for that by not gluing the sides to the top allow the wood to expand a little.  I had to glue the front.  I also used a breadboard design and mortised the top to the frame.  It still may crack out, but better than the original design.  I matched the cedar the best I could.  It will get darker, I have never worked with cedar before and it may have helped to do more research on the wood.  Yet the color palette does match.  The duct tape that held it together before is gone and all the cracks in the wood have been cut out.  The finish is a boiled linseed oil as the base, with gloss polyurethane over that.  I waxed it after the polyurethane cured.  I hope it fits on the chest, that remains to be seen, I did not see how it attached and tried to hold the dimensions true to the original piece; but, anything can happen.

Saturday, September 20, 2014

These Pesky Rabbits

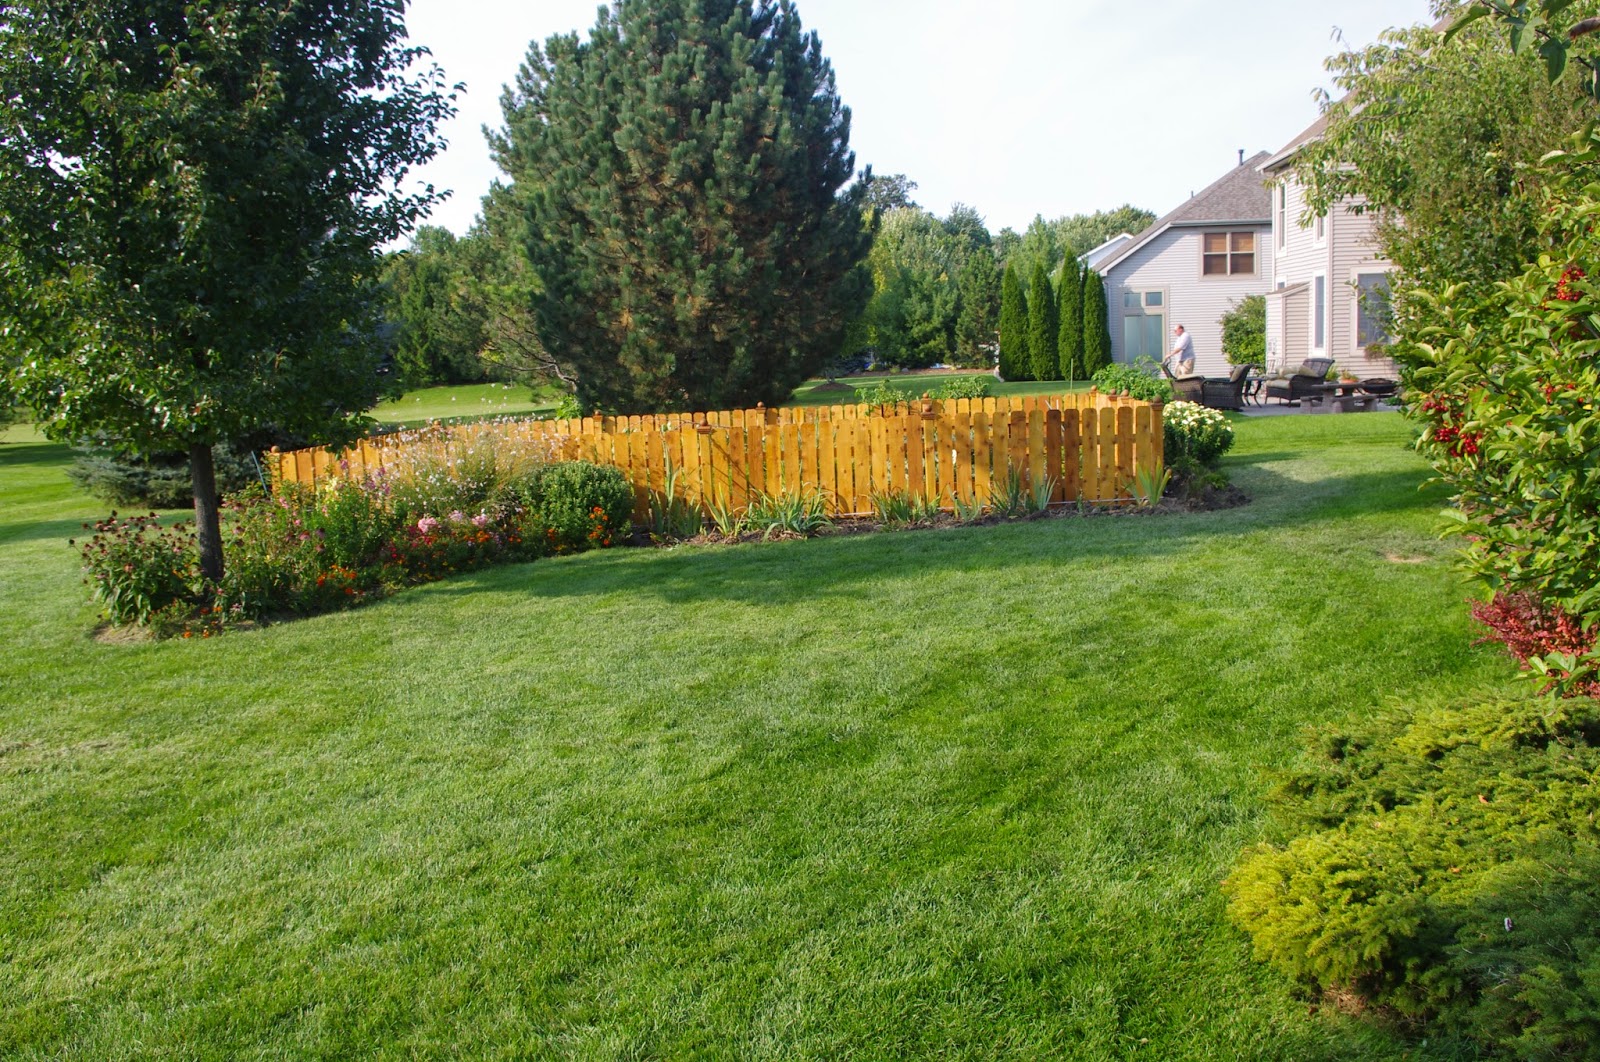
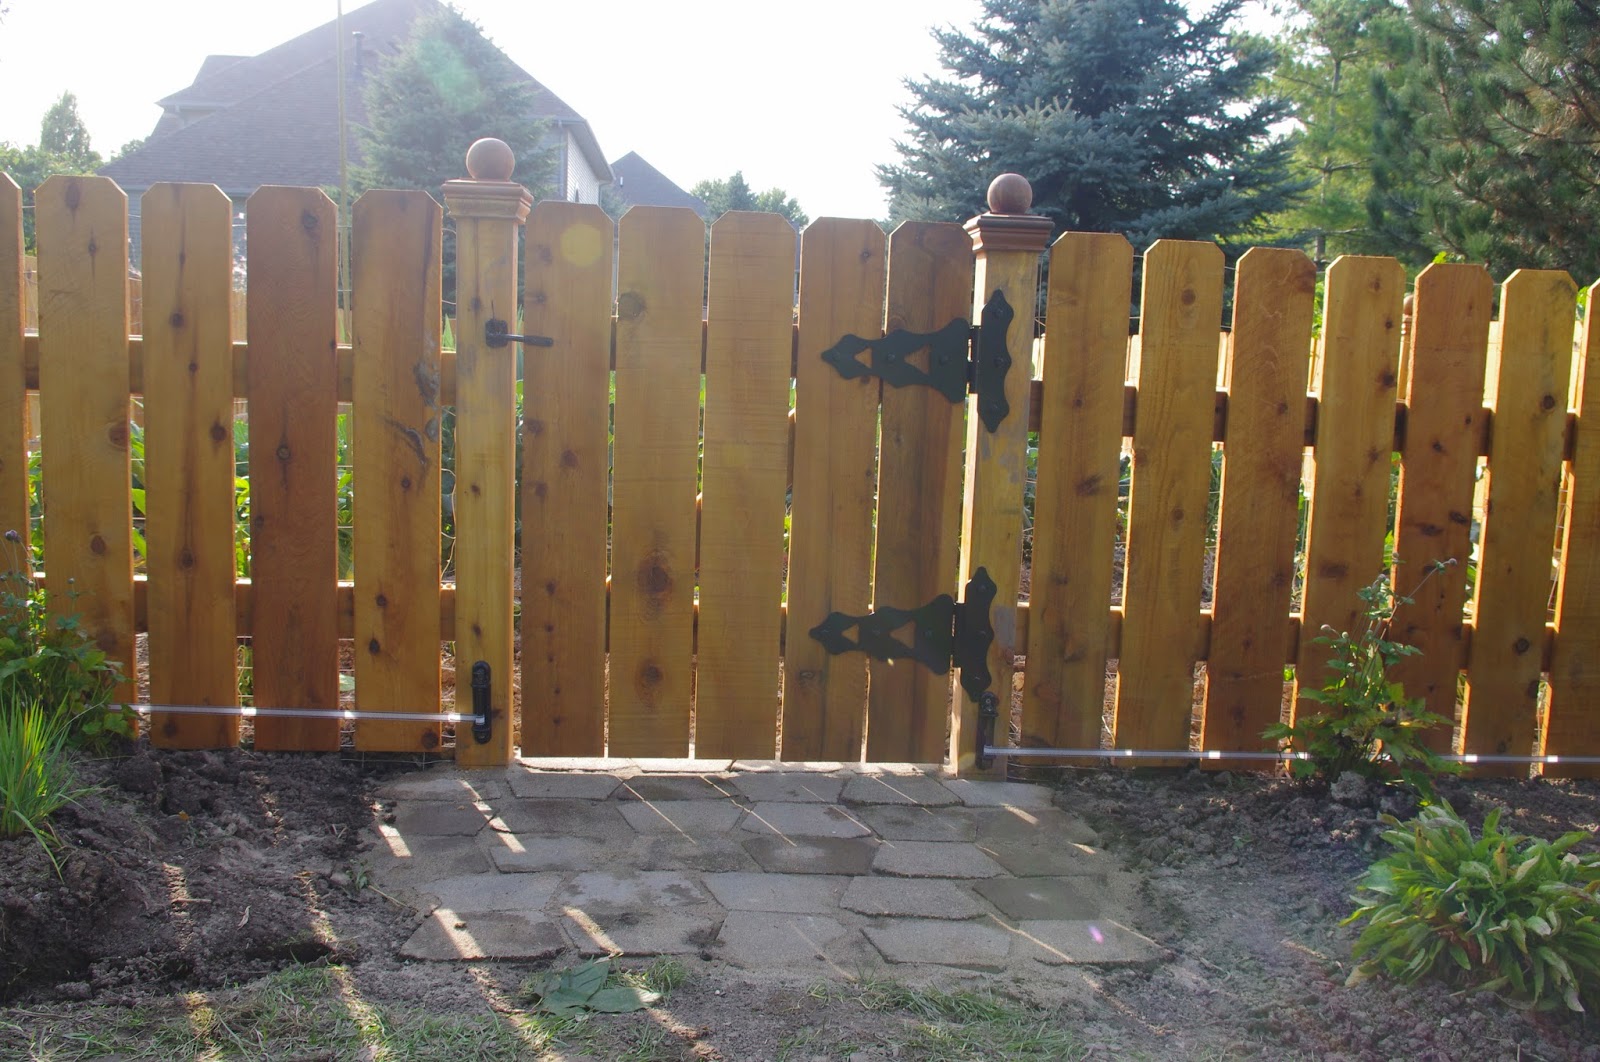
I finally broke down and built a rabbit fence.  I have been fighting rabbits for years.  They eat flowers and the garden,   I hope to at least keep them out of the garden.  I have used human hair, stinky potions; home-made and purchased, plastic fence, and an electric fence.  All may work for a week or two, then these rabbits find a way to eat the garden.  They love green beans, eat them all the way through harvest... we got little harvest this year.  Any plant that is just coming out of the ground, rabbit will eat.  They do like tomatoes... other than tomatoes, they will eat any vegetable I have grown.   So here is my ultimate rabbit fence.
Look at the fence
Closer look at the fence


Post Caps

Electric Polytape at the base for the diggers
Gate with a rabbit patio for the rabbits cook out
with their roasted vegatables


Wire reinforcement buried in the ground

Friday, September 19, 2014

Picture frames


I have left over wood from every project that stacks up in the workshop.  I give much of it away for people to burn as kindling and have made toys from the wood.  So I thought I would try to design and make some unique picture frames.  It turned out to be a bigger project than I originally thought and thank goodness for Sketchup, because I could have not done these frames without it.


Thursday, September 4, 2014

Finished Wardrobe

I delivered the wardrobe in August and am finally getting a picture up.  It assembled much easier than I thought. 

Wednesday, July 23, 2014

Trip to the UP

A friend of mine planned a trip to the Upper Peninsula of Michigan for us.  He mapped out and described all the places we were to go, see and eat.  He told me about one of the places he thought was the most beautiful on earth, so I took some shots, stitched them together, built a frame, had a craft shop cut the matting, and framed it.  The wood is quarter sawn white oak scraps left over from the wardrobe project.  He is remodeling a house of his, so today I gave it to him.
Here is that frame and picture.  The dark and light wood are both white oak.  The dark wood was dyed brown, with pigment and water.  The frame was glued together and shellac is the finish.  The interior pieces are all book end matched and the top, bottom and sides are all from the same piece of wood. 

Monday, March 17, 2014


Left Door

Right Door
I have about 2 full days of fitting left to do, yet this cabinet is about done.  Here is a view of the entire cabinet and the doors.

Sunday, March 9, 2014

The pieces

This piece is going to be assembled on site, so the pieces will all need to go together.  Here are the pieces and I am missing one piece.  I have to make another piece to have a latch for the door, since I am just using regular hinges... so that is yet to be made.


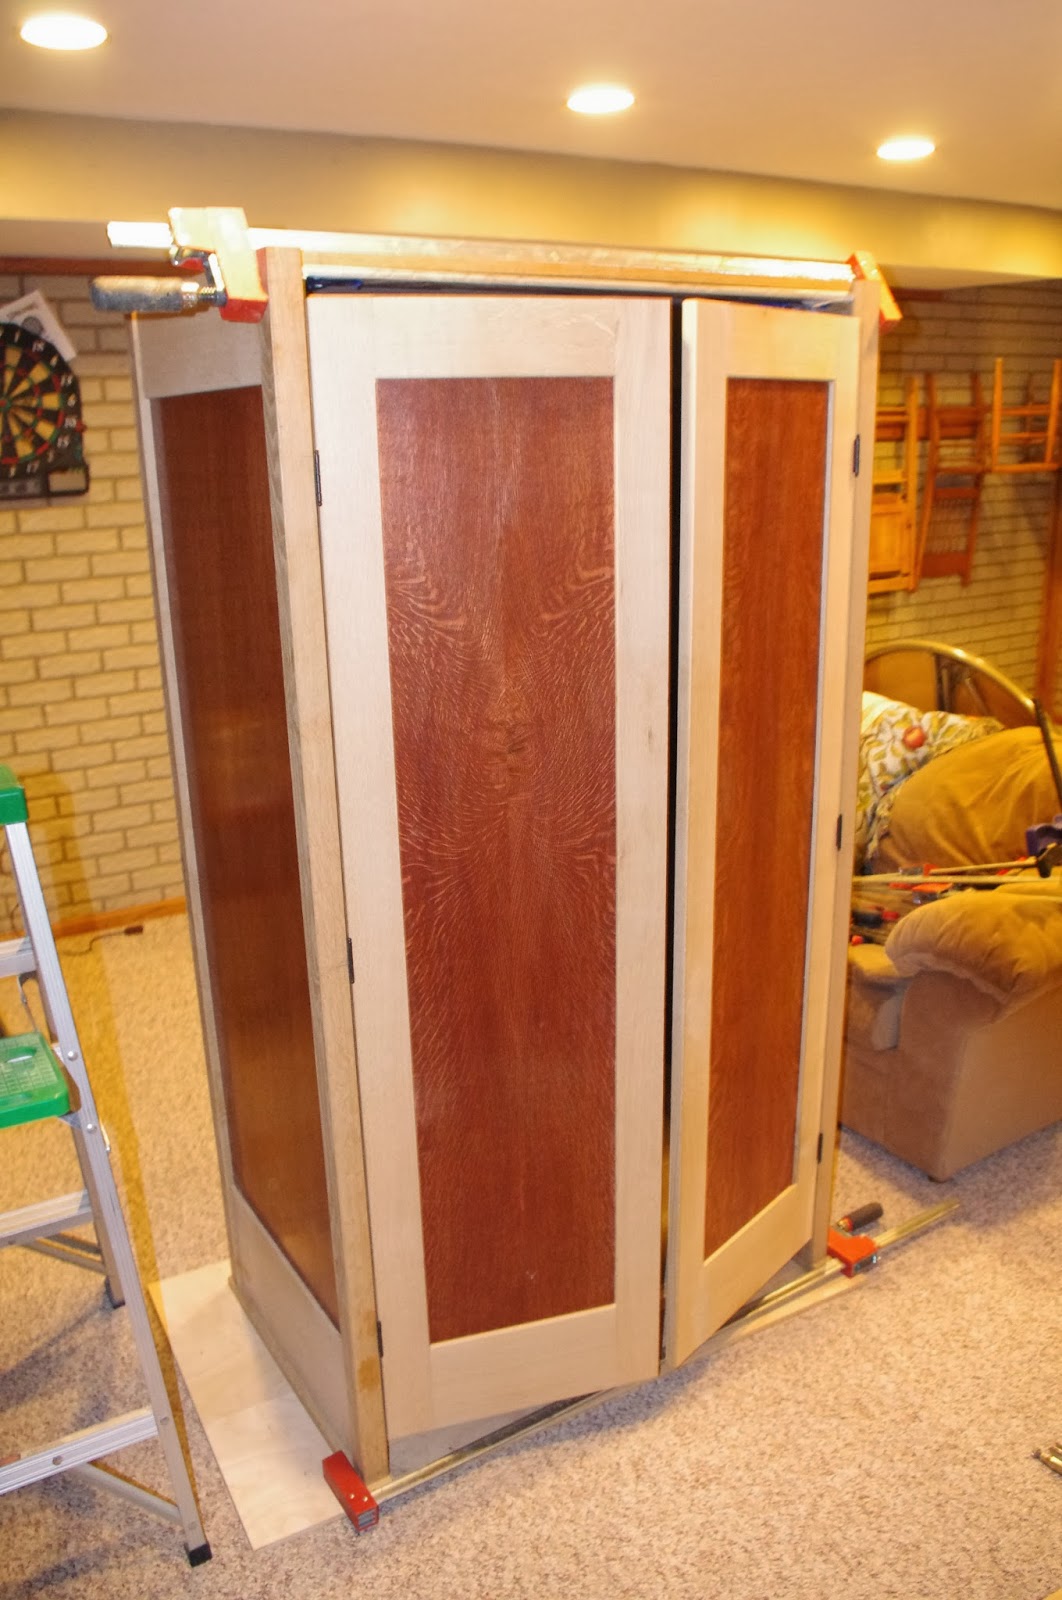
Saturday, March 1, 2014

The doors

 The doors are attached to the cabinet.  They are fairly even for the first try.  I want to fit the top and get the poles for the hanger attached next.  Then I will take it apart and round over the edges and give it a final sanding.  Then I will put it back together and round over some more edges.  After that, I will take it apart again and apply the finish... then reassemble to be sure all edges fit and the fit looks good.  Then I will take it apart again for delivery.  That is a lot of assembly!


Saturday, February 22, 2014

Doors

Well the doors are dry fitted.  Now I need to stain the wonderfully beautiful natural panels. I will follow the same process for the other panels I stained.  First, the oil base stain, then a varnish, then a glaze, and then two cotes of polyurethane.  That will take me about a week, each coat needs at least 24 hours to dry.  While that is being done, I will install hinges on the door stiles.

The panels in the door are matched.  The gap at the top is an optional item, to allow the clothes to air out between wearing.  I hope the owners are happy with the addition.


Friday, January 31, 2014

Starting on the doors

The wardrobe's sides, false top, false bottom and back are attached.  I am now starting on the doors.  I was going to use European hinges, but now unsure.  I do not want the screws to attach to the side panels.  I may have to use regular hinges, and if I do that will be another decision the owners will need to make.  I would recommend brass hinges.  Also a decision will need to be made about door handles.  Here are some different perspectives of the piece.  A good site to use is rockler.com.

I made a mistake on one of the sides, I made an exact copy of the side and it was to be a mirror image.  Not sure how I did that, but that set me back a couple of weeks.  Not much new wood, just rework.